


How to Optimise Your Tour Images
Food and Drink Tours
Published: 13 Mar 2023
Are you a tour operator offering wine or food tours? Are your images looking dull and unappealing, not quite capturing the true beauty of your locations? You're in luck – we have some key tips to optimise your tour images to better engage and convert potential customers.
By channelling the same enthusiasm you have for food & drink tours into your images, you're not only going to draw in more potential customers but can capture those amazing moments by using high-quality visuals!
How to Optimise Your Tour Images
With our background on how to get started with image optimisation, you'll soon be revamping (and showing off) professional-looking photos ready to be used across all digital channels. Let’s get started!
Prepare your tour images - ensure they are of high quality and clear resolution
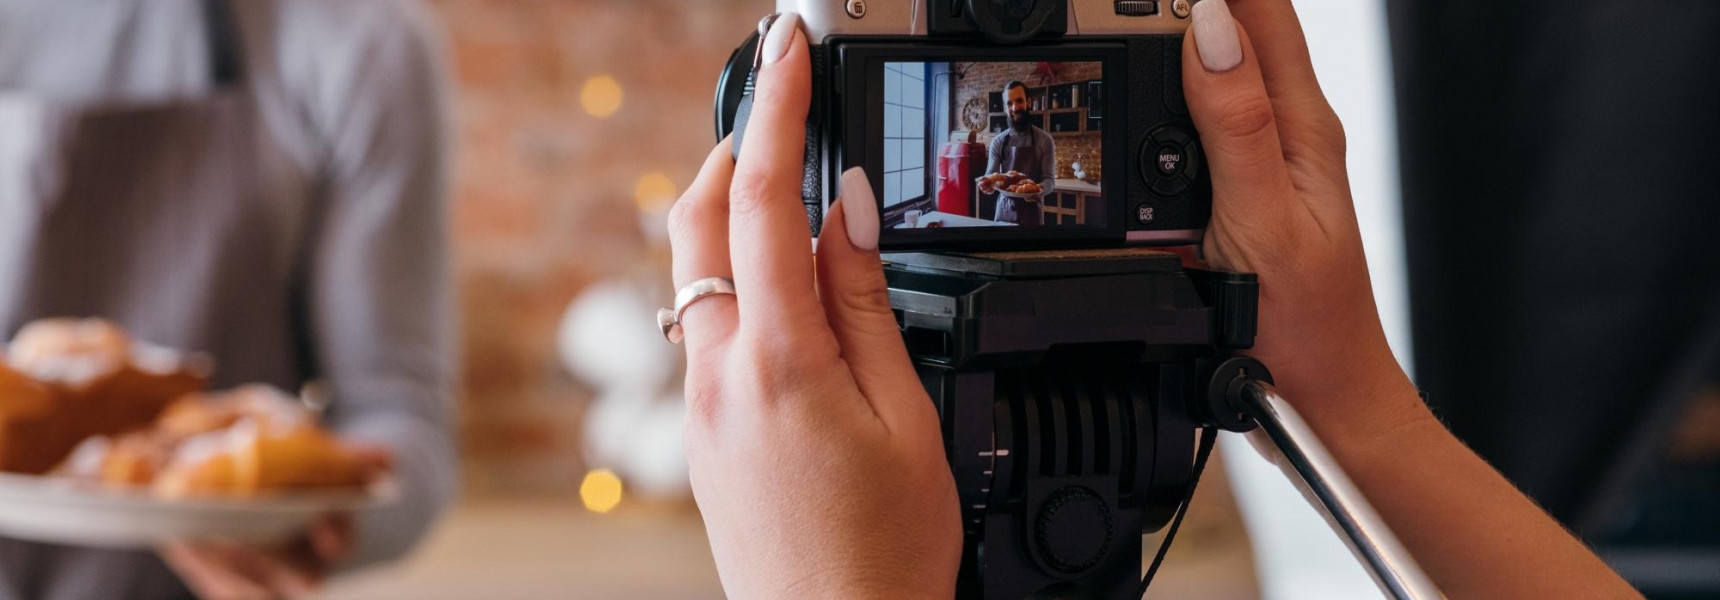
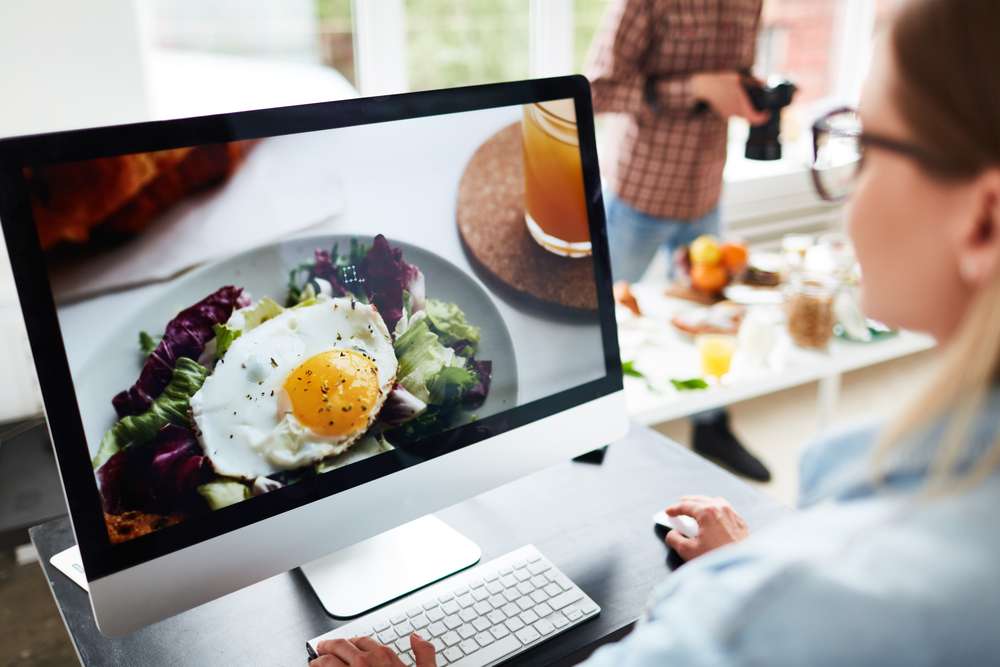
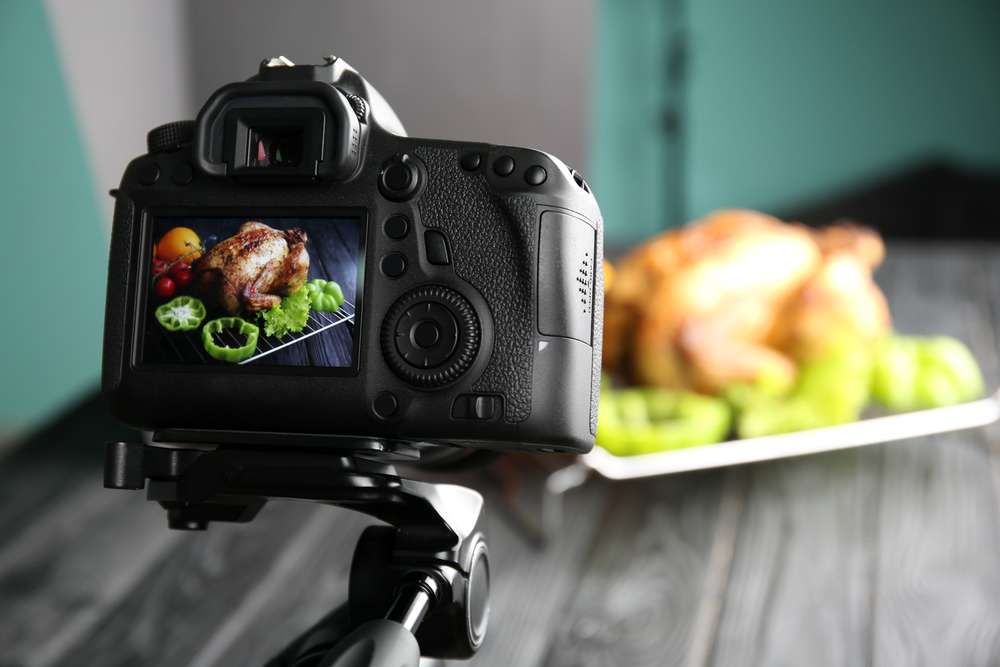
Preparing your tour images for optimisation is an essential step in creating, inviting and enticing content for visitors. To ensure the best outcome when optimising, make sure the food and wine images you use are of the highest quality and clear resolution. That way, visitors can get a sense of what they would experience on one of your tours even before they arrive.
Investing time and effort into selecting or taking great images will give potential customers a better understanding of what they are going to experience in person and help them choose your wine and food tour among other options!
Utilise the correct file types - JPEGs, GIFs, or PNGs can make a big difference
When it comes to optimising your images, one of the key factors to consider is the file type. Using JPEGs, GIFs, or PNGs can have a dramatic effect on page load time and SEO ranking, as different formats are optimised for different purposes. Using JPEGs for complex or high-resolution images will help reduce large file sizes, which in turn will result in faster loading times.
For simpler images such as icons or logos, a GIF or a PNG may be more suitable due to the support of transparency layers. Ultimately, carefully selecting the correct file types is essential for both maintaining your website speed and improving visibility with search engines.
Resize images to the correct dimensions so they fit well on the page
Optimising your images is an essential part of creating the best possible tour experience for visitors. Resizing images to the correct dimensions is an easy way to ensure that your images look great on the page, making sure that all details are clear and visible for visitors to appreciate.
Different devices require different image sizes depending on the resolution, so taking the time to ensure that each image is the right size will help create a seamless tour experience across all devices. Additionally, resizing and compressing your images can help reduce page load times and improve performance, leading to greater levels of user satisfaction.
Compress images to reduce their file size without sacrificing image quality
Reducing the file size of your tour images can drastically improve the speed with which they load, making your tour feel smooth and uninterrupted. To do this without sacrificing image quality, you can use a technique called compression. Compression works by removing unnecessary or redundant data from image files to reduce their size while still preserving the level of detail that is visible to viewers. This process can help make your tours more accessible for those connected to slower internet speeds and optimize their performance in general for a better user experience overall.
Content delivery networks (CDN) can improve loading speeds of your tour images
Improving the loading speed of your tour images is a must if you want to give potential clients a smooth and enjoyable user experience. One way to do this is by using a content delivery network (CDN). A CDN will enhance the performance of your website by offloading traffic from the origin server, allowing media to be hosted on servers in different geographic locations and ensuring fast loading times. If you're serious about providing the best possible experience for users of your virtual tour, it's certainly worth implementing a CDN.
Utilise meta tags to describe your image and add extra information when shared online
Meta tags are a great way to get the most out of your tour images and make them more visible when shared online. Specifically, you can use meta tags to add details such as the location, date or mood of the image. This allows viewers to get extra information about what they're looking at and encourages them to engage further with your content.
Additionally, it helps search engines like Google quickly fetch all relevant information related to that specific tour, making it easier for potential customers to find it. Taking time to utilise meta tags may take some extra effort upfront but will be well worth the outcome - so don't forget to update yours whenever you add new content!
Optimise your tour image with tabl.com
Taking into consideration the tips outlined in this post will help you ensure that your tour images are optimised and best presented to prospective travellers. Making sure your images are of high quality, in the correct file type and well compressed. Additionally, following guidelines on resizing images, utilising meta tags and deploying a CDN are all crucial steps when it comes to making an impact on users and ensuring an optimal user experience.
Hopefully, with our help, you've seen enough to get started optimising those food and wine images for your tour. Advertise your experiences online with tabl.com.
Keep Exploring
Find more amazing tabl. experiences to visit.